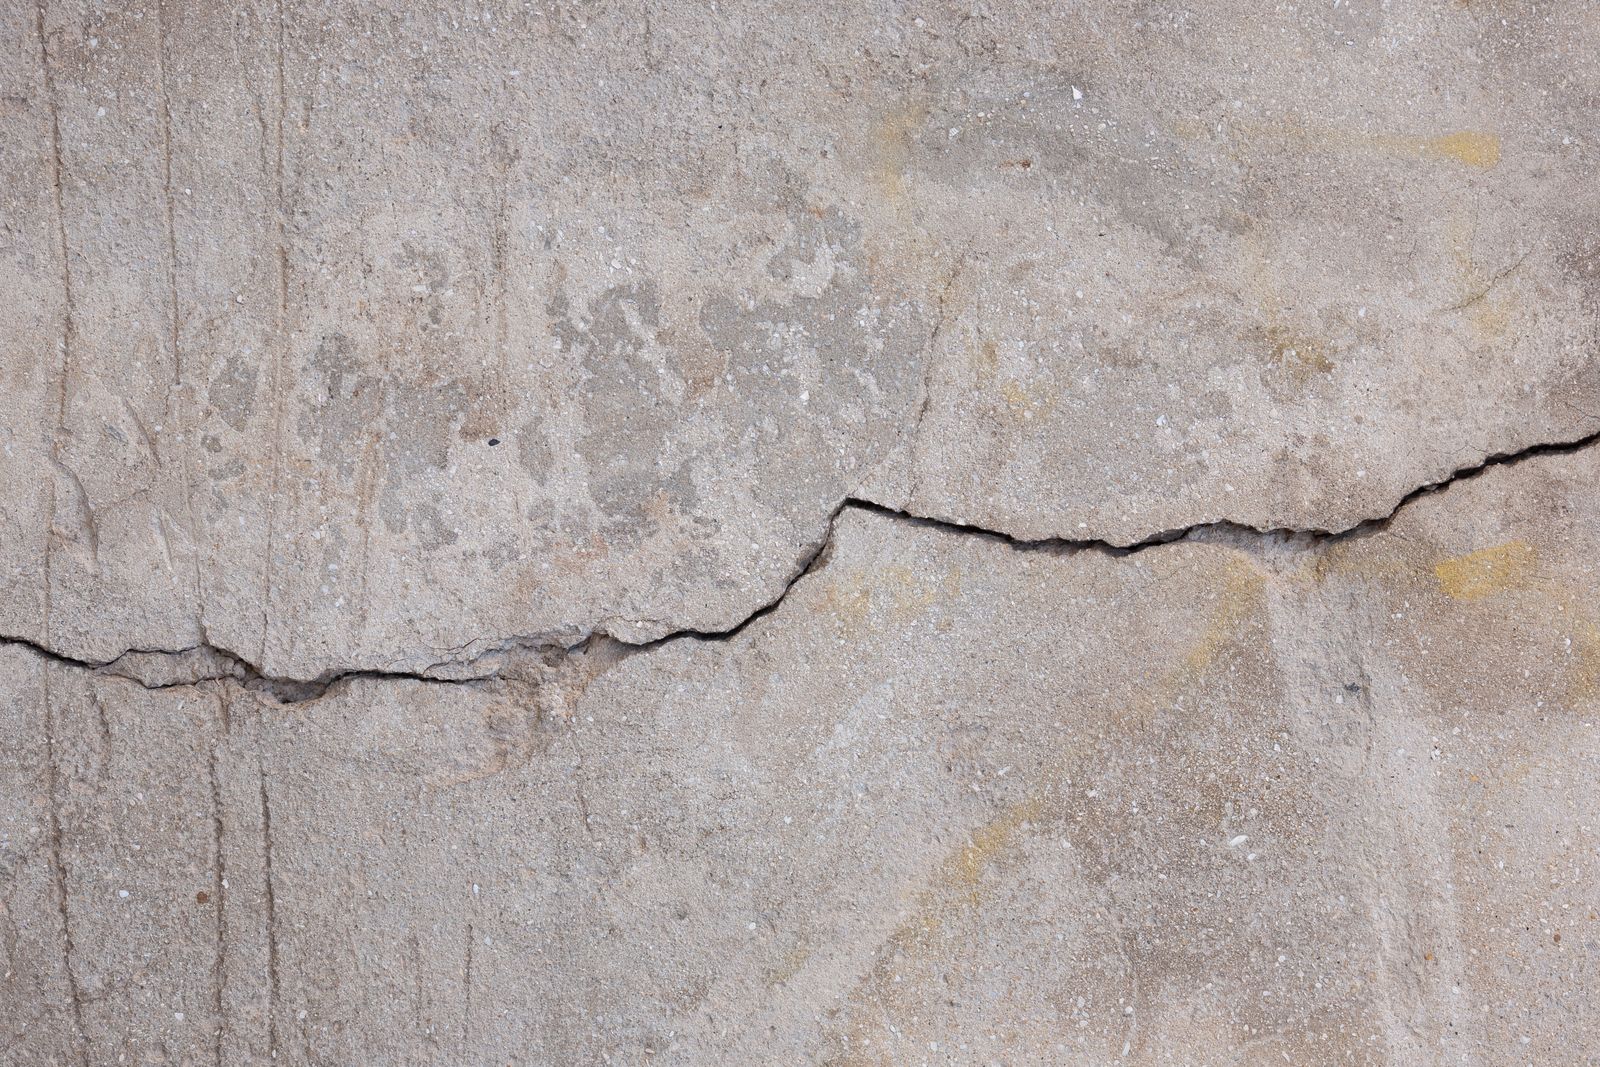
- A visual condition survey of concrete is a non-destructive evaluation limited to visible surfaces, and it records each feature's location, approximate extent and severity before any interpretation.
- A crack's significance cannot be read from its width alone; it depends on the type of structure, the service environment and the nature of the cracking, and what is acceptable in a building may not be in a water-retaining structure.
- A repeatable record links each crack to an ID, a location, fixed measurement points and a named tool, so later readings can be compared and the decision passed to a specialist.
This article is professional guidance on survey documentation and does not replace a structural assessment by a licensed engineer where a safety risk is suspected.
Why does crack assessment start with documentation, not interpretation?
Site engineers are usually asked one question: is this crack dangerous? A hasty answer, whether reassuring or alarming, weakens whatever decision comes next. What the owner needs first is a record precise enough for another engineer to re-read and compare later.
The American Concrete Institute’s guide to visual condition surveys (ACI PRC-228.4-23) describes the survey as a non-destructive evaluation using the human eye and basic supplementary tools, generally carried out as part of a wider field investigation. It asks the surveyor to document each feature’s location on the structure or element and its approximate extent and severity, and notes that the survey is limited to visible surfaces. [1]
Explaining the cause and choosing a repair come later. ACI 224.1R-07 summarises the causes of cracking in concrete structures and sets out evaluation procedures, the principal repair techniques and guidance on applying them. [2]
What should you gather before reaching site?
A good survey starts at the desk. ACI’s guide to assessing concrete structures before rehabilitation (ACI 364.1R-19) treats reviewing the available documents as one of the main assessment tasks, including background data such as drawings and construction records. It recommends that the owner and the licensed design professional agree the objectives before the assessment begins. [5]
In practice, ask for the following before the visit:
- The available structural and architectural drawings, even if they do not fully match what was built.
- The element’s history: age of the building, alterations, added loads and previous repairs.
- Leak records or reports linked to the same location.
- The user’s account: when the crack was noticed and whether it has changed since.
Plan safe access to high surfaces in advance. Any part you cannot reach stays outside your record and must be stated clearly.
What goes into the record for each crack?
Give every crack a unique ID linked to the level, gridline, element and visible face, and put the same ID on the drawing. Take a wide photograph showing how the crack relates to supports, openings and joints, then a close-up with a scale visible in the plane of the surface.
- Unique crack ID
- Level, gridline and element
- Visible face of element
- Position on drawing
- Orientation and length
- Width at marked points
- Tool used
- Measured or visual estimate
- Damp or leakage
- Rust or staining
- Spalling or delamination
- Displacement or deformation
- Areas not reached
- Surfaces hidden by finishes
- Conditions at time of survey
Record orientation and length, and measure width at points marked on the surface rather than anywhere along it. ACI 224.1R-07 lists two width-measuring tools: a small hand-held microscope with a scale on the lens, and a clear card with lines of various widths. Because width varies along a crack, the card is moved along it and several readings are compared. [4]
Members of the relevant ACI committee have also warned that flat feeler gauges can catch on surface irregularities and underestimate the width, and may measure a surface notch rather than the crack itself. [4] So name the tool in the record and distinguish clearly between a measured reading and a visual estimate.
Committee members responding in the same ACI answer put the crack widths of interest in field measurement at roughly 0.13 to 1.3 mm, judged optical methods the most accurate, and one described a lighted microscope as the accurate option for precise work, though reading it takes experience. [4] In poorly lit areas, bring your own light source rather than relying on site lighting.
Note what accompanies the crack: damp, rust, spalling or offset between its faces. And record what you could not see, such as surfaces covered by finishes or areas behind equipment.
How do you separate observation from hypothesis?
“Diagonal crack near an opening, width at point A of so much” is a statement anyone can verify. “Crack caused by settlement” is a hypothesis that needs other evidence. Mixing the two in a first report pushes the reader towards a decision whose evidence has not yet been gathered.
ACI stresses that cracks have many causes and effects: some affect only appearance, while others indicate serious structural distress or poor resistance to the service environment. A crack’s significance depends on the type of structure and the nature of the cracking, so a crack acceptable in a building may not be acceptable in a water-retaining structure. [3]
| Observation | Possible hypothesis | Evidence needed to test it |
|---|---|---|
| Crack with rust staining | Reinforcement corrosion | Specialist check of cover and steel |
| Crack with damp marks | Active water path | Leak records and timing |
| Crack wider between readings | Ongoing movement | Repeat readings at same points |
| Crack near recently added load | Change in loading | Drawings and alteration records |
Write the report in two separate parts: “Observations” and “Hypotheses to be tested”. For each hypothesis, state the evidence that would confirm or rule it out, and who will collect it.
How do you make the next reading comparable?
In many cases the key question is whether the crack is stable or changing, and only a record repeated in the same way can answer it. Fix measurement points with durable marks, use the same tool, and photograph from the same angle and distance.
Record the date and conditions with each reading, such as time of day and operating state, because comparing readings taken in different conditions can mislead. The responsible engineer sets the interval between readings according to the element’s condition and the decision required, not by a generic schedule.
A simple table is enough for the log of repeat readings, provided it is filled in the same way on every visit:
| Crack ID | Measurement point | Date and time | Width | Tool | Reading conditions |
|---|---|---|---|---|---|
| C-03 | A | (first visit date) | (reading) | Clear card | Normal operation |
| C-03 | A | (second visit date) | (reading) | Clear card | Normal operation |
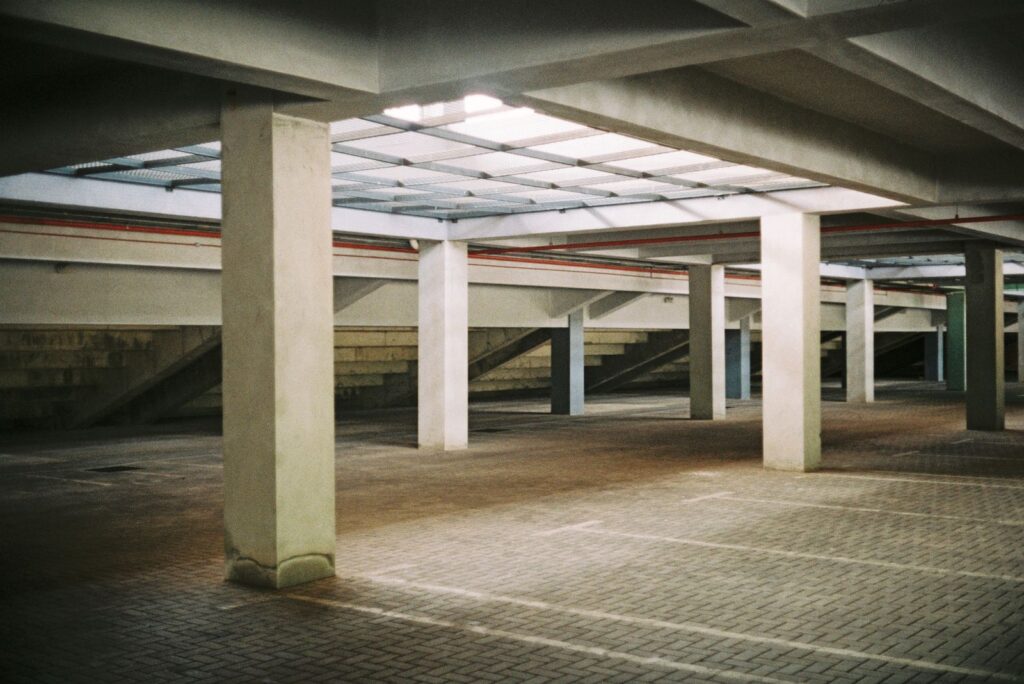
Hypothetical example: a crack in a car park soffit
A maintenance engineer in a hypothetical Gulf building receives photographs of a crack in the first-floor soffit of the car park. Instead of judging from the photos, he gives the crack an ID, marks it on the drawing, measures the width at three marked points with a clear card, and notes that one end disappears behind an air-conditioning duct.
He sees damp marks along a nearby line, so he asks for leak records from the floor above and for any recently added loads. In car parks, cracks can let chlorides in and start corrosion of the reinforcement. [3] He therefore opens two parallel lines of enquiry: tracing the water source, and requesting a specialist assessment of the element.
His report keeps observations separate from hypotheses and proposes a second reading at the same points. The example illustrates the method only and does not identify a general cause for any car park crack.
When should the survey stop and the matter be escalated?
Some observations cannot wait for a complete record: pieces of concrete falling, noticeable deformation of the element, or rapid widening between visits. At that point, trigger the facility’s safety procedure, restrict access to the area and refer the assessment immediately to a licensed structural engineer. ACI 364.1R-19 has a dedicated section on unsafe or potentially hazardous conditions during assessment and covers identifying temporary support requirements. [5]
Do not choose a repair before the assessment. Filling a crack may hide evidence the assessor needs and may not address the cause. ACI points to documents including ACI 224.1R, ACI 562 and ACI 546R for repair guidance. [3] Across the Gulf, requirements for structural assessment and permits differ between authorities, so the owner should check the municipality or competent authority in their city before any structural intervention.
What does a good first report look like?
The report that reaches the owner or structural engineer is often read without a site visit, so it has to stand on its own. Arrange it in five parts:
- Scope: the elements surveyed, the survey date and the means of access.
- Survey limits: what could not be seen or reached, and why.
- Observations: the record of each crack with its ID, location, measurements and photographs, without interpretation.
- Hypotheses to be tested: for each, the evidence required and who will collect it.
- Recommendations and urgency: what is needed immediately, what is to be monitored and what is referred to a specialist.
If information is incomplete, say so plainly; a report that admits its limits is more useful than one that fills the gaps with guesswork.
Conclusion
The first report on a crack is not a verdict on its cause but a record that makes a later verdict possible. Document location, measurement, tool, associated features and the limits of what you saw, keep observation apart from hypothesis, and escalate immediately at any sign of danger.
Frequently asked questions
Is a close-up photograph of the crack enough?
Not on its own; you need a wide shot linking the crack to the element, supports and openings, a close-up with a visible scale, and its position marked on the drawing.
Can crack width alone show how serious a crack is?
No. Significance depends on the type of structure, the nature of the cracking and the service environment; a crack acceptable in a building may not be acceptable in a tank, and in car parks it can let chlorides in. [3]
Which tool should be used to measure crack width on site?
ACI 224.1R-07 lists two: a small hand-held microscope with a scale on the lens, and a clear card with lines of various widths. Take several readings along the crack because its width varies. [4]
When should a crack be measured again?
The responsible engineer sets the interval according to the element's condition and the decision required, provided each reading is taken at the same marked points with the same tool so the comparison is valid.
Can a crack be filled as soon as it is found?
Repair is chosen after the cause has been assessed and the purpose of the repair defined; filling it earlier may hide evidence the assessor needs. [2, 3]
References
- American Concrete Institute (ACI). Visual Condition Survey of Concrete—Guide (ACI PRC-228.4-23), preview (2023)
- American Concrete Institute (ACI). Causes, Evaluation, and Repair of Cracks in Concrete Structures (ACI 224.1R-07) (2007)
- American Concrete Institute (ACI). Do we always need to repair cracked concrete? (ACI FAQ)
- American Concrete Institute (ACI). Alternative methods for measuring crack width (ACI FAQ)
- American Concrete Institute (ACI). Guide for Assessment of Concrete Structures before Rehabilitation (ACI 364.1R-19), preview (2019)